





Shopify
Contents
PostHog makes it easy to get data about traffic and usage of your Shopify store. Integrating PostHog into your site enables analytics about user behavior, custom events capture, session recordings, A/B testing, and more.
This guide walks you through integrating PostHog into your Shopify store using a manual implementation.
Third-party solutions There are several unofficial, third-party Shopify x PostHog integrations, such as PixieHog. Some users find success with these integrations, but we're unable to provide support for them as they are created and run by third-party teams. Instead, we recommend following the guide below as a first step.
Installing PostHog manually into the theme
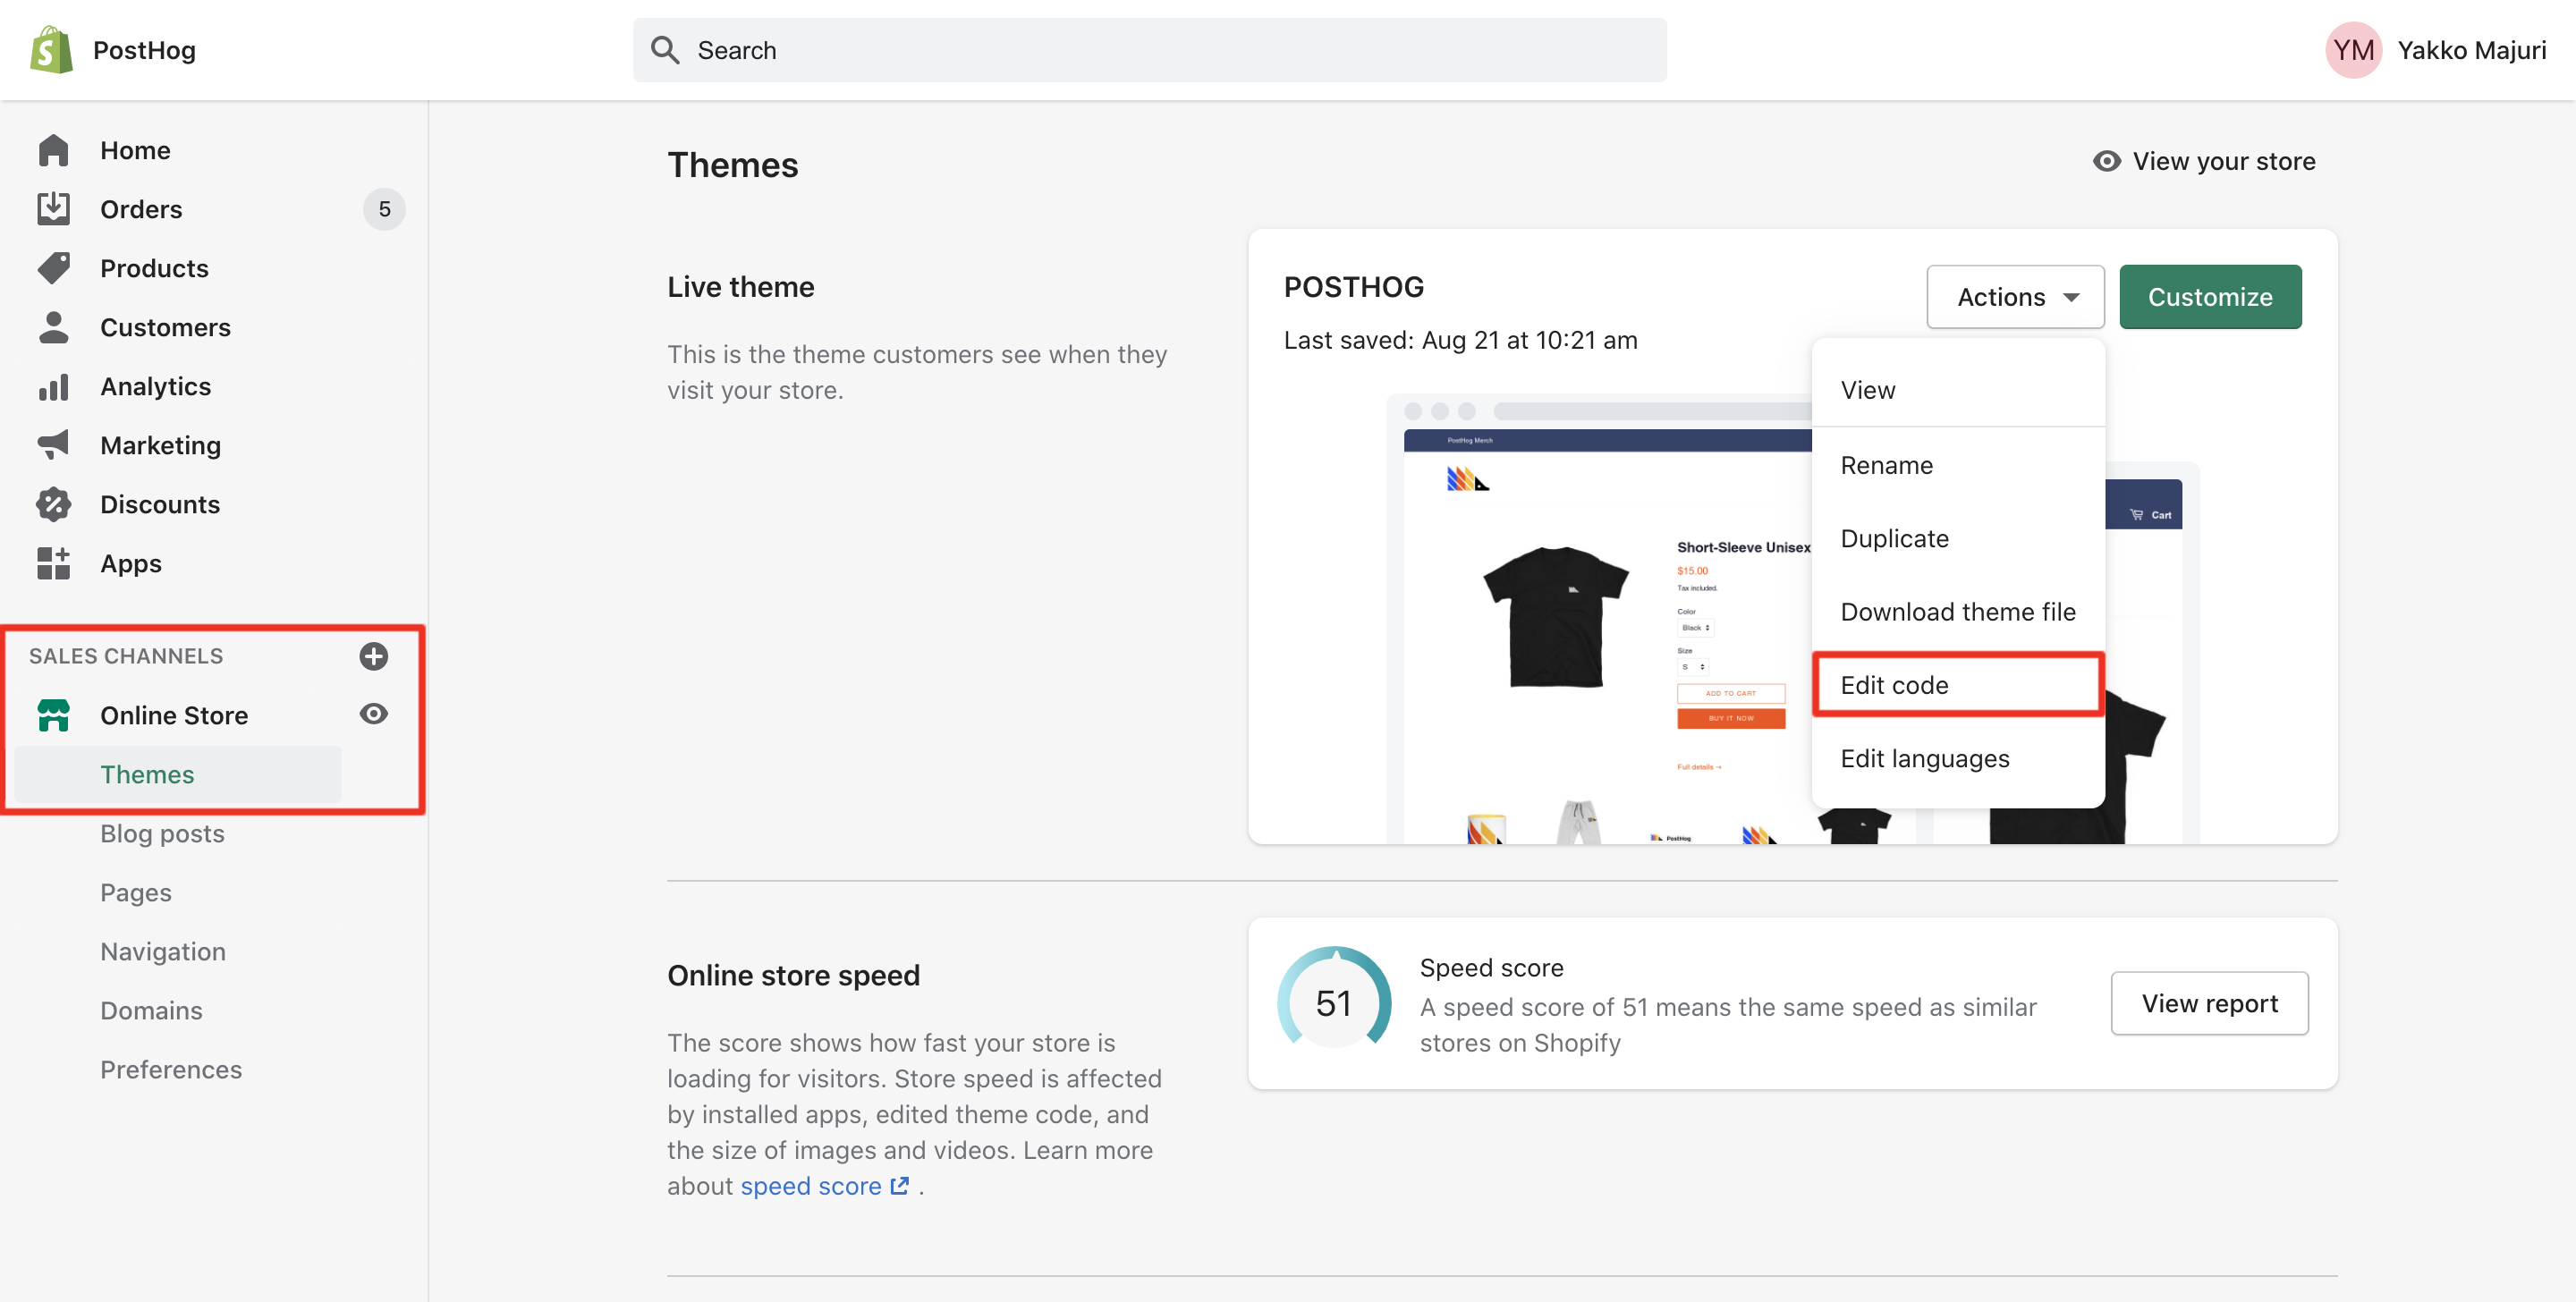
- You should now be seeing a code editor. Click on
theme.liquidunder 'Layout' on the left sidebar - Navigate until you see the closing
</head>tag. Paste your snippet there, before that tag:
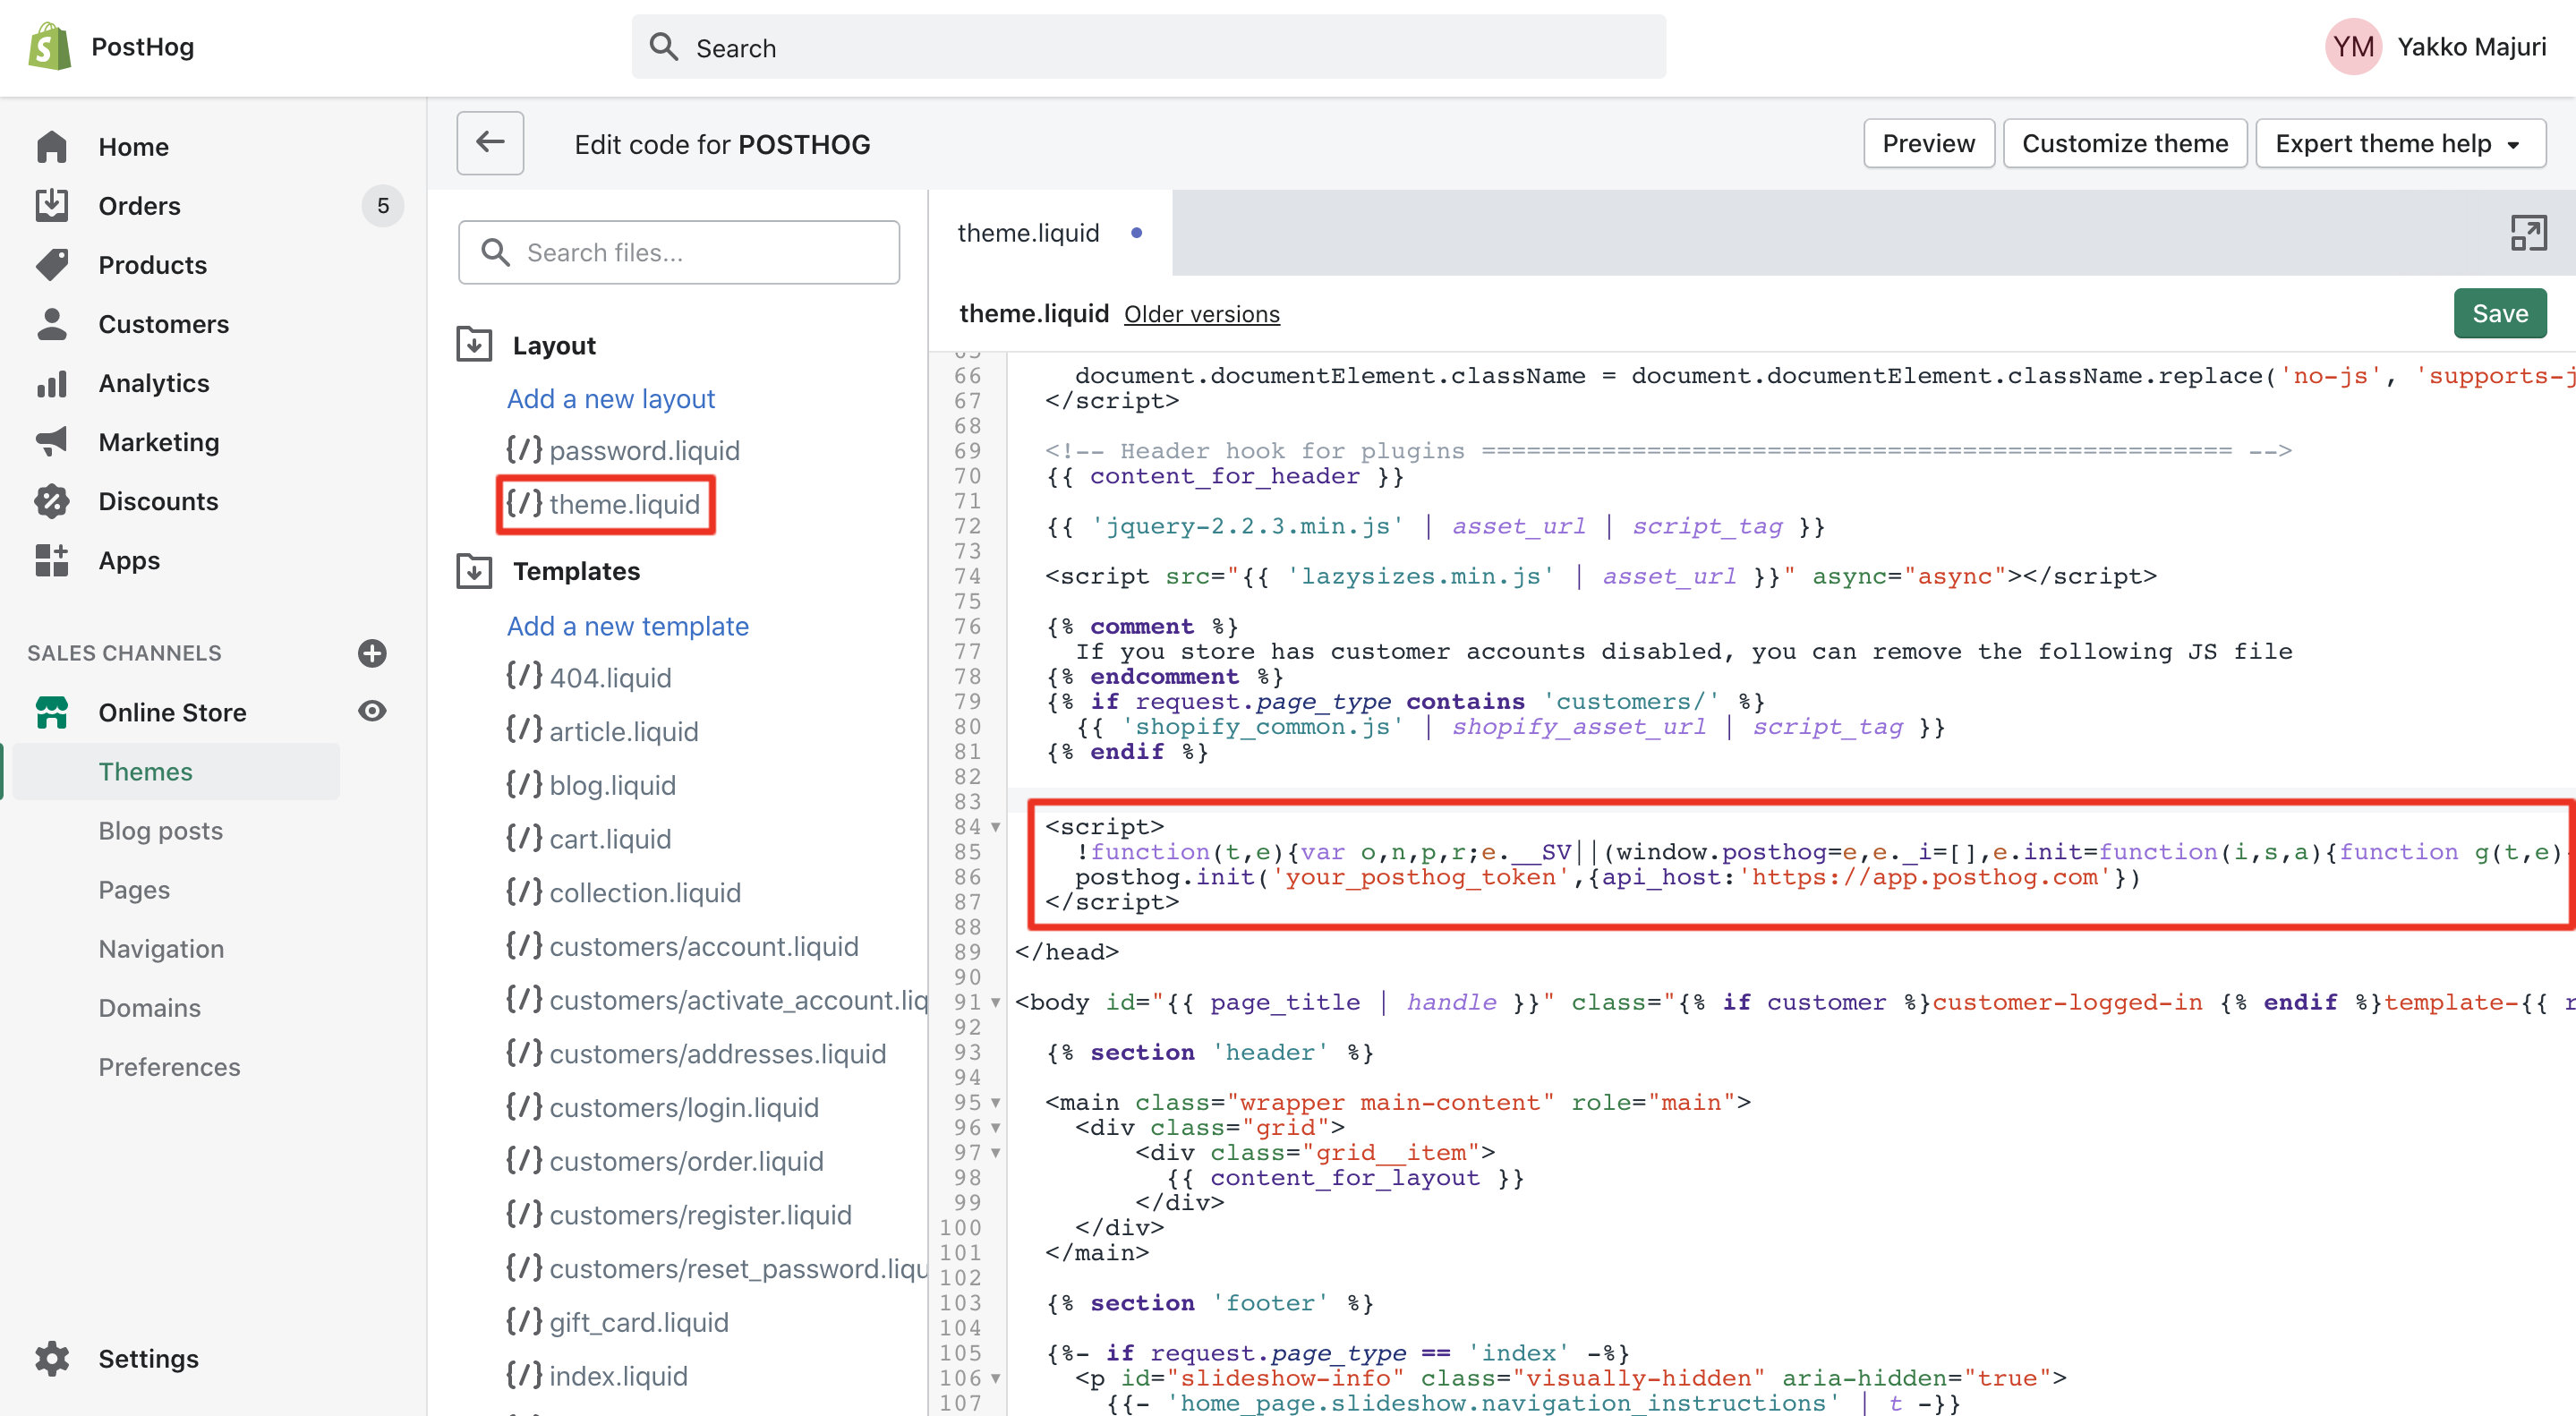
- Click the green save button on the top right and you're good to go - PostHog should now be capturing events on your Shopify store!
To confirm PostHog is configured correctly, visit your store and then check if the events from your session appear in the PostHog activity tab. This may take a few minutes.
Reducing the impact on page speed
The snippet loads PostHog asynchronously from a separate assets host, so it does not block your store from rendering. Shoppers are sensitive to page weight, so you can trim PostHog further by turning off the parts you do not use:
Each option removes a feature, so set only the ones you can do without:
disable_session_recordinganddisable_surveysstop PostHog from downloadingrecorder.jsandsurveys.js. These are the largest scripts PostHog loads after the library itself.advanced_disable_flagsremoves one network request per page load. Leave this option out if you use Feature Flags, Experiments, or Surveys, because they all need that request.autocapture: falsecuts your event volume, but you then needposthog.capture()calls for the actions you still want to measure. To keep autocapture on a smaller set of elements instead, setelement_allowlistorcss_selector_allowlist.
See the JavaScript config reference for the full list of options.
Enabling heatmap
The heatmap won't work on Shopify out of the box because Shopify has very strict CSP headers, particularly frame-ancestors.
You can bypass this issue and enable the heatmap by running a Cloudflare worker that rewrites the frame-ancestors header. We recommend using a separate subdomain like heatmap.myshop.com from your production site to minimize impact. Here is a simple Cloudflare worker that updates this header:
Enabling toolbar
If you're having trouble viewing the PostHog toolbar, ensure your Shopify theme is not hiding empty divs.
Tracking conversions
Shopify's checkout flow doesn't allow arbitrary JavaScript to be run, so the PostHog JavaScript snippet cannot be used directly on the checkout page or post-purchase page. However, you can still track conversions by using a custom web pixel.
Setting up a custom web pixel
To set this up, first, go to the customer events tab in your store settings, click "Add custom pixel," and give your pixel a name.
Next, paste your PostHog snippet at the top of the pixel code, above any analytics.subscribe call. Put it at the top level rather than inside a subscribe callback, so PostHog loads once instead of on every event. You can also copy it pre-filled from your project settings.
Below the snippet, subscribe to the customer events you want to capture. Shopify's Web Pixels API documentation lists them all.
As an example, here is the code for subscribing to a checkout_completed event. Every time a user checks out, we capture an event. We also call posthog.identify() so that we can track the user across different sessions:
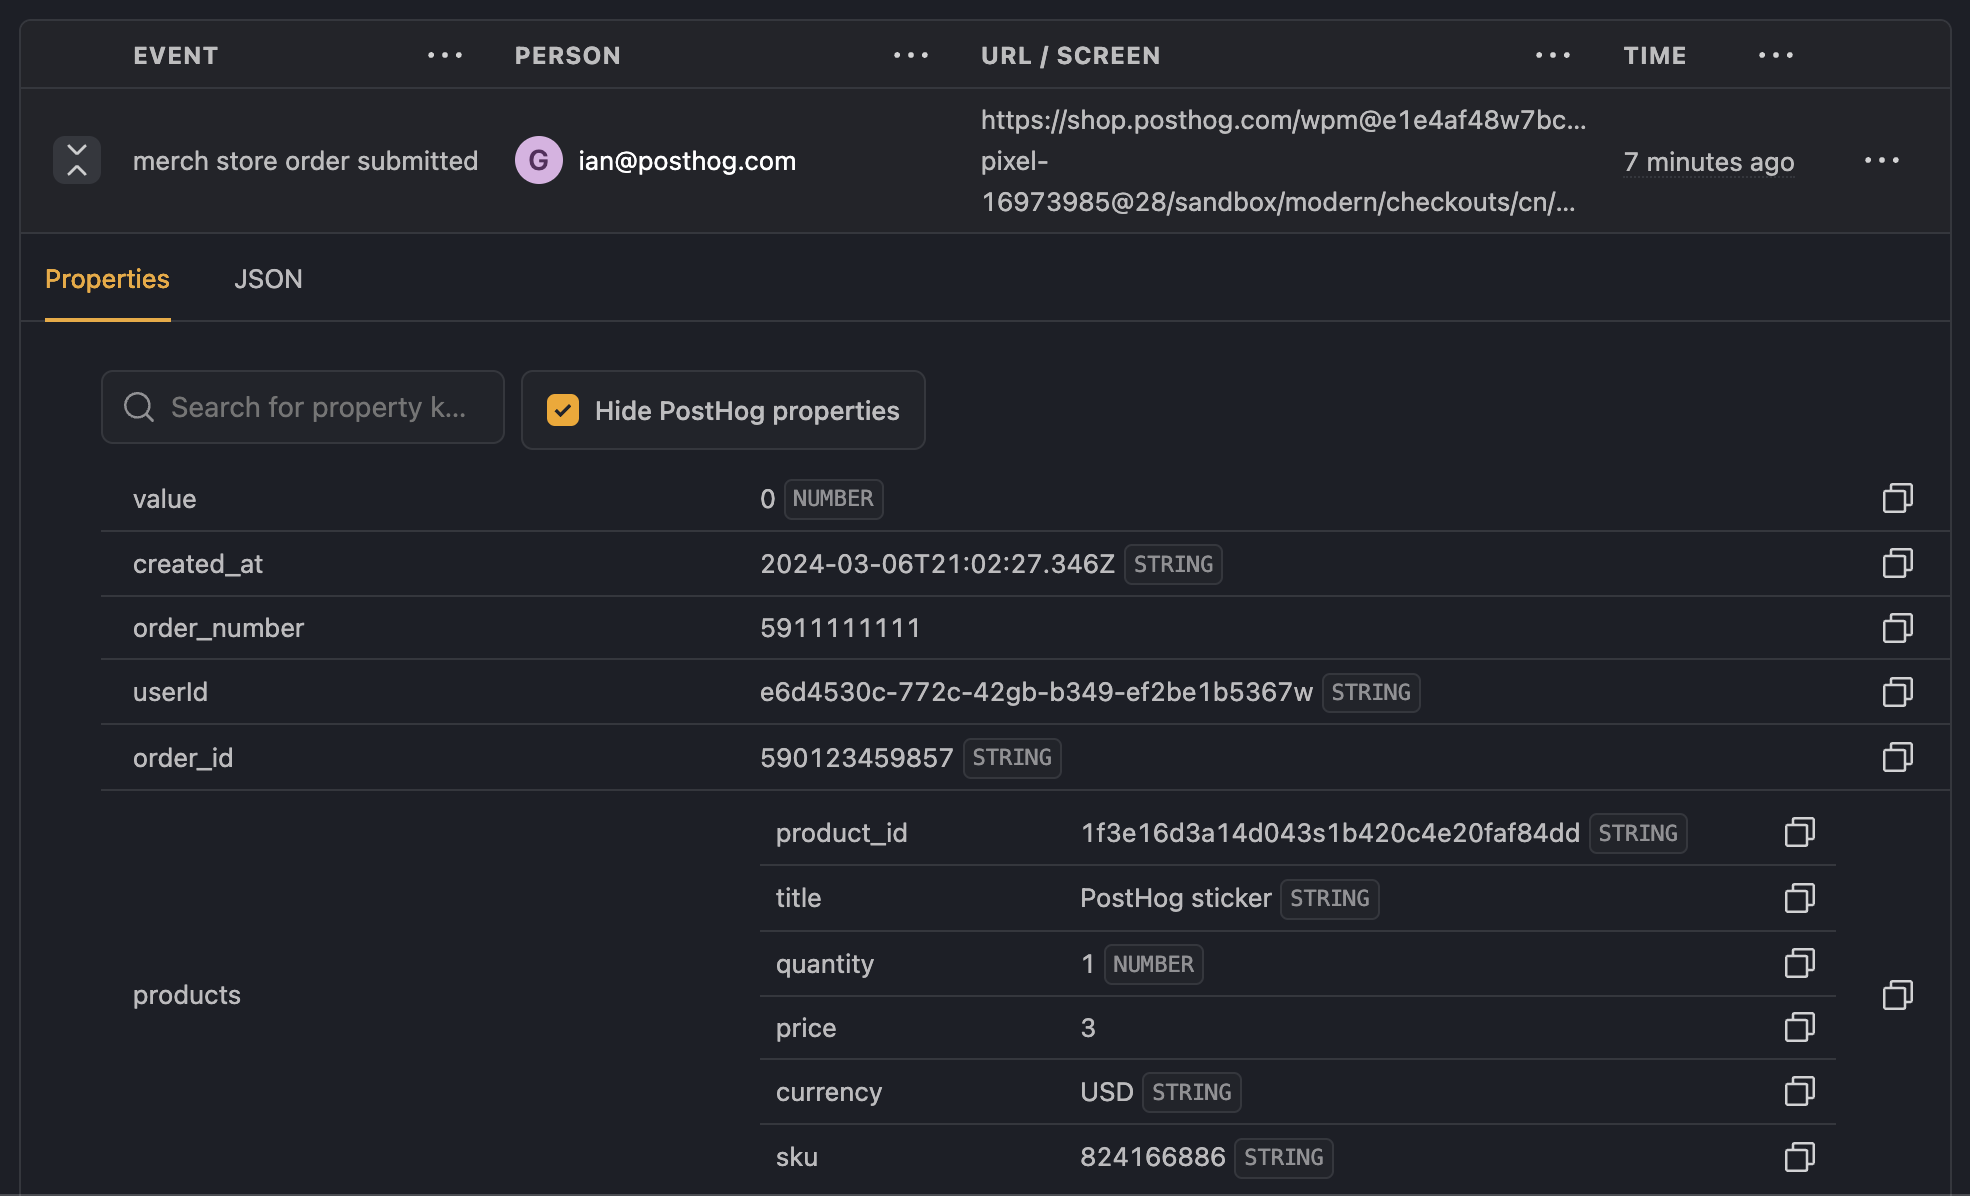
In the above code, we capture the event with details like userID, order_number, and the product array with product_id, price, and more. This is then viewable in PostHog:
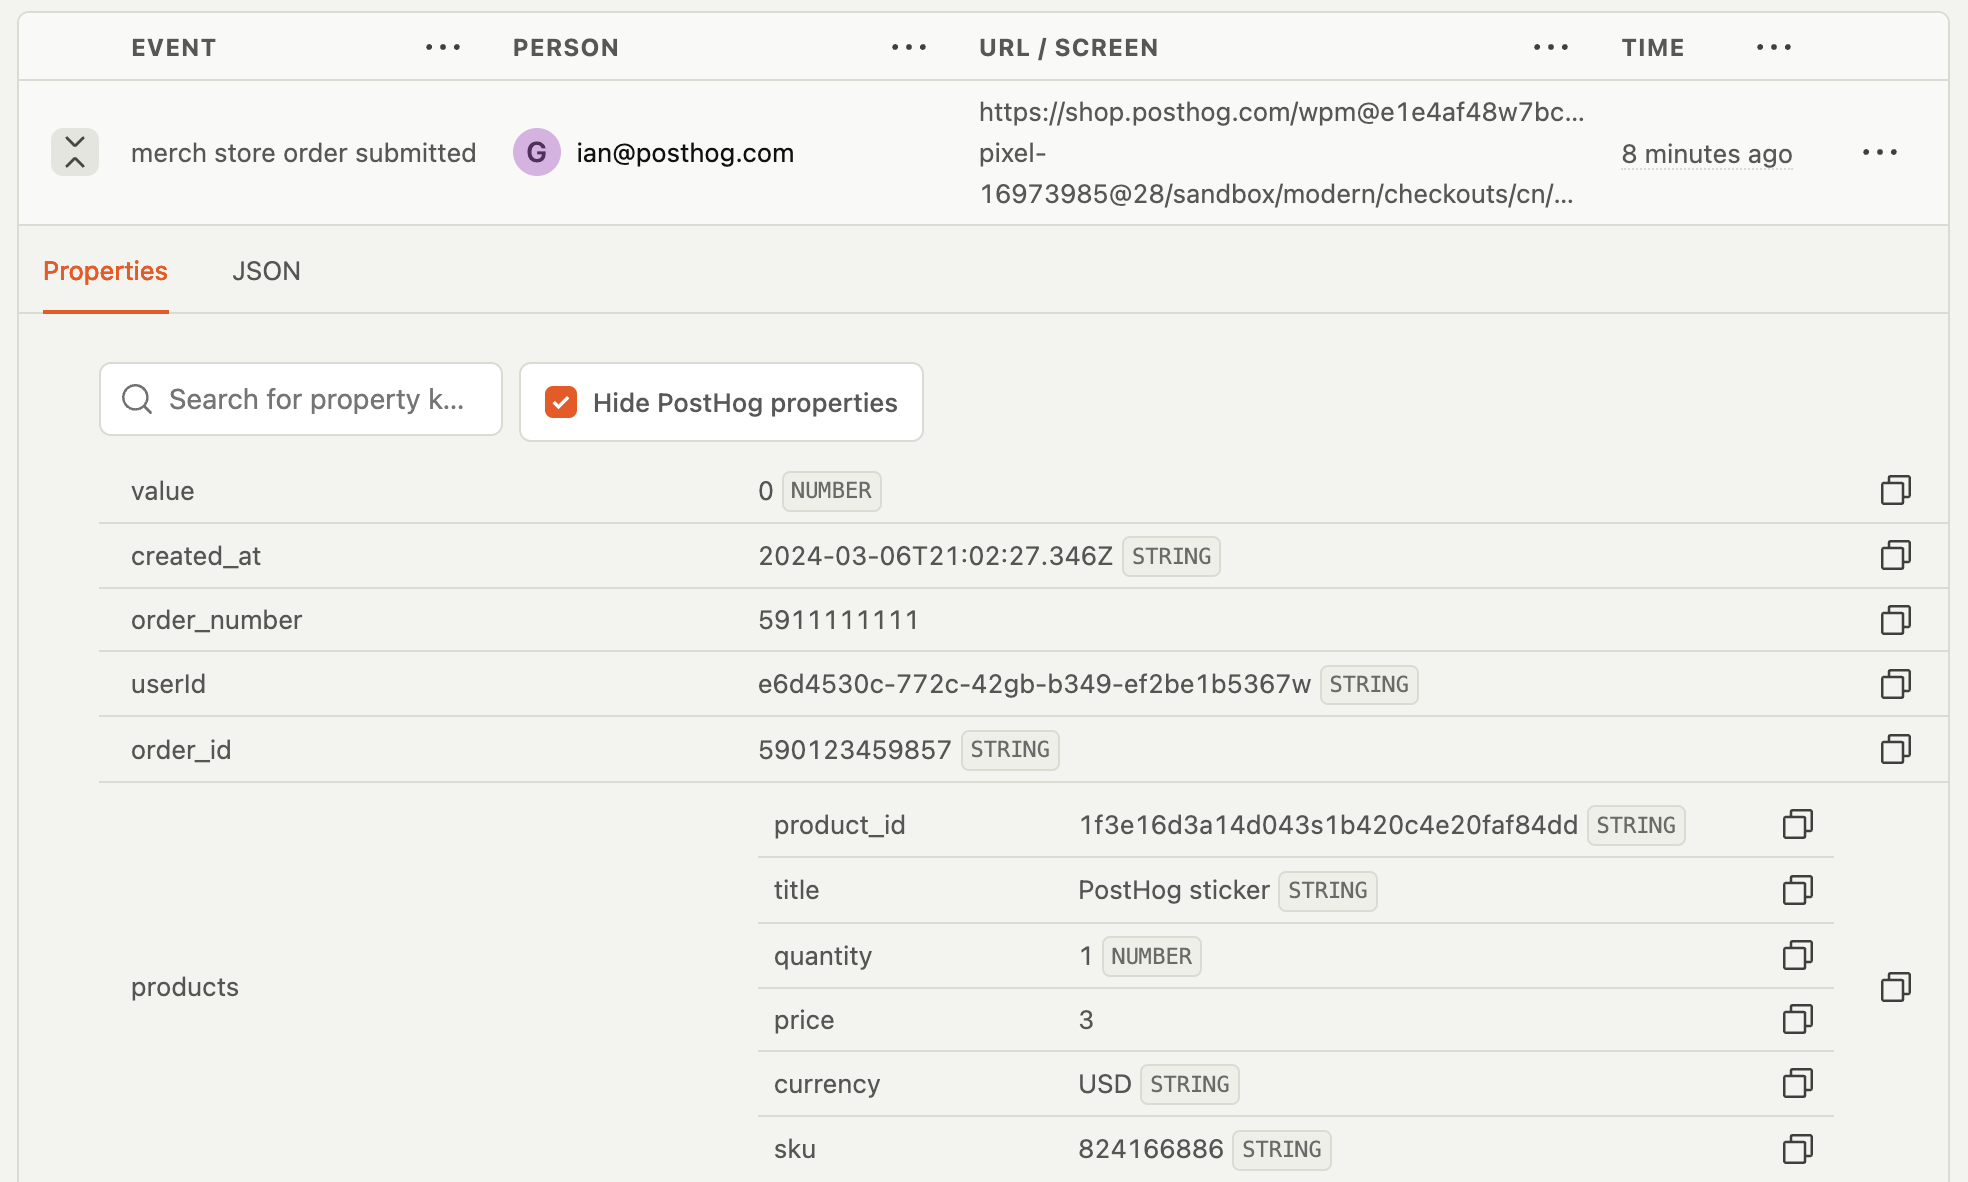
We recommend only using a Shopify pixel for tracking conversions. If using a pixel for other events (like collection_viewed or product_viewed), you may see CORS errors when viewing those webpages. While it doesn't affect the functionality of the pixel, everything else can be done using PostHog installed globally on your site.
Tracking items added to the cart
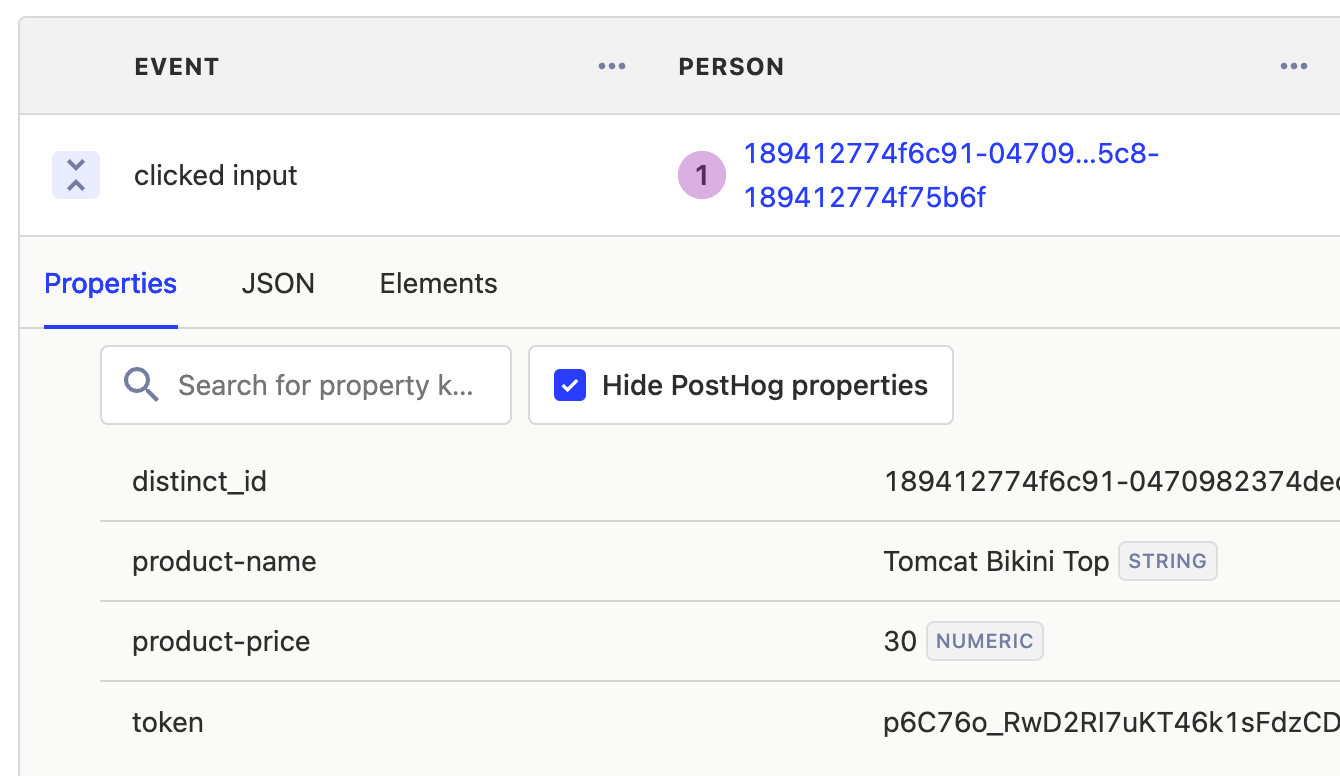
To track which product a user adds to their cart, we can use a data-ph-capture-attribute on the 'Add to cart' button (generally in product.liquid in Shopify). While this still requires adding code, it's less involved than creating a custom event. For example, capturing the product title and price (divided by 100) looks like this:
Once set up, the Add to cart button autocapture event in PostHog will include the properties for each of the attributes prefixed with data-ph-capture-attribute- and their values.
What can you do with this data?
You can use this data to answer questions like:
- Which products are being left in the cart most often?
- Which products are being purchased together most often?
- Which marketing campaigns are driving sales of different products?
- How does regionality of shoppers affect the products they buy?